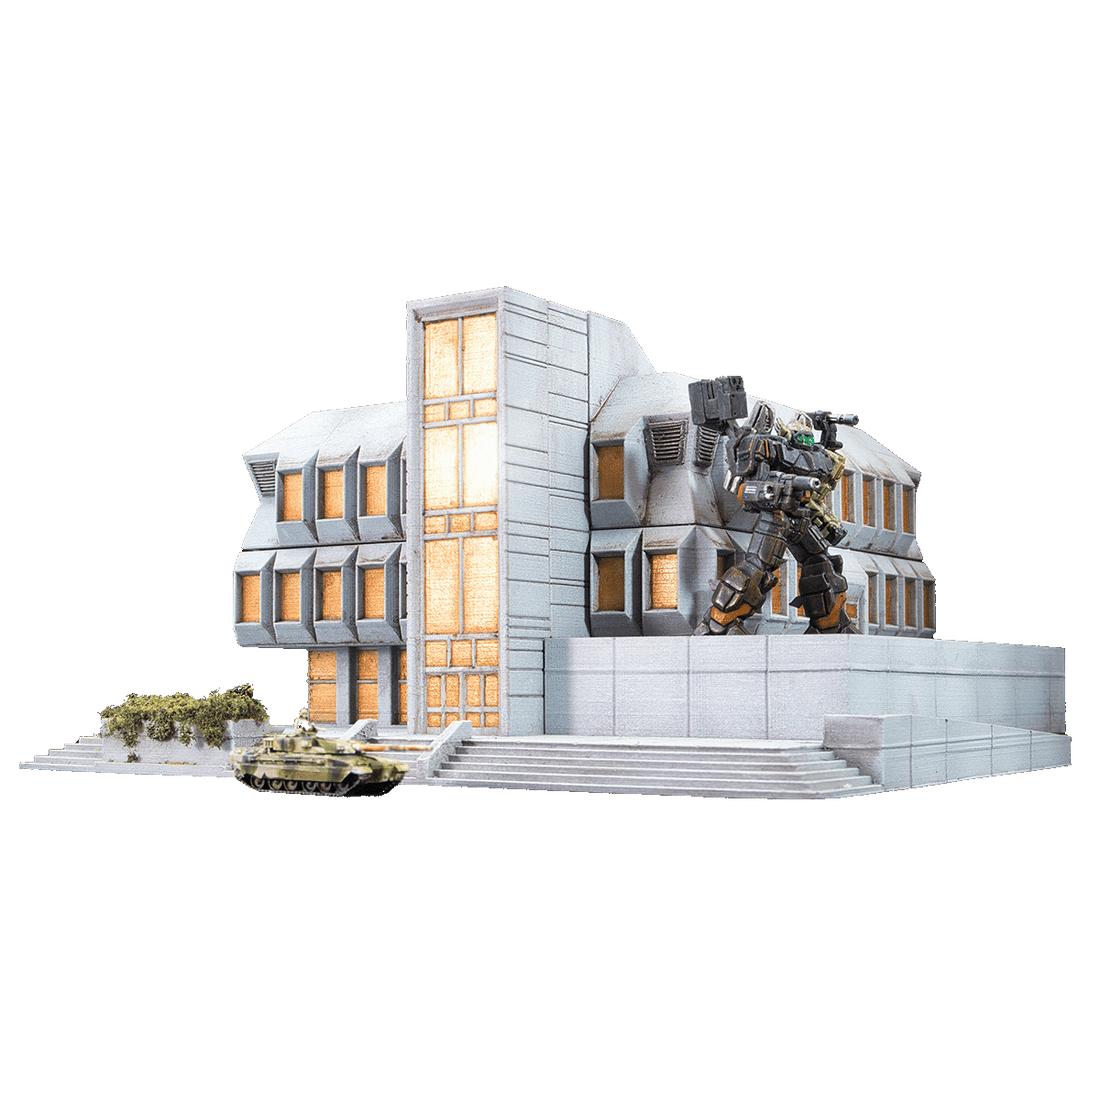
How to Paint 3d Printed Terrain
Ryan JShare
Painting 3d printed terrain brings your grey PLA or resin prints to life. To get the best results and most out of your hobby you’ll need some preparation and technique.
Take your terrain from basic to brilliant by tweaking print settings, properly preparing your models, and using effective painting methods. Whether you’re working with terrain stl files or intricate 3d printable sci-fi terrain, this guide covers the essential steps to achieve a smooth, professional finish.
3d print settings for better painting results
The quality of your 3d prints plays a big role in how well the final paint job turns out. Start by adjusting your layer heights based on the level of detail you want.

For smaller, intricate prints, a layer height of 0.1mm or less works best, while larger prints can be printed at 0.2mm for faster prints. Matte PLA filaments are a great choice for painting, as they reduce the glossy finish of standard PLA and provide better adhesion. For added texture, consider using fuzzy skin settings to enhance the surface.
Using ironing on the top surfaces of your print will also create a smoother finish. But you won't necessarily need it for all your prints. As you'll see later in this article; filler primer goes a long way.

Printed with 0.08mm layer lines on my Bambu Lab A1 printer - you can barely see the layers!
Brutal Cities STL files are designed to be printed without supports. But you will want to make sure your bridging and overhang settings are calibrated correctly. You can use free models such as thermal towers and bridge calibration models found on websites like thingverse.com.
preparing your 3d printed terrain
A flawless paint job starts with a well-prepped terrain. For FDM prints, focus on removing any supports and smoothing over drooping areas caused by overhangs. (But thankfully the majority of Brutal Cities terrain is designed to print without supports)
If your print has any stringing (see earlier picture), you can use a knife to cut the 'cobwebs'. I used a naked flame to also burn back some - but this probably isn't the healthiest/safest option so I don't recommend that.
If you want the smoothest finish possible, Sanding is key. Begin with coarse grit sandpaper to eliminate major imperfections, then switch to finer grits for a polished surface. Try wet sanding to avoid PLA dust. Filling gaps with putty or filler can make all the difference, especially for flat or highly visible areas.
If you're working with resin prints, ensure the terrain is fully cured before moving on. Clean your models with isopropyl alcohol and carefully remove any supports. Resin usually requires less sanding than FDM, but a quick pass over rough areas can help create a smooth base for paint. Make sure to wear a P2 mask for safety when sanding.
choosing the right primer for 3d printable terrain
Priming your terrain is essential to create a uniform surface for painting.
Automotive filler primers, like rust-oleum’s 2-in-1 filler & sandable primer, are excellent for hiding layer lines and filling seams. For a smooth finish, apply 2 to 3 coats and lightly sand between applications. Spray primers are a quick and easy option, while brush-on primers can be handy for touching up hard-to-reach areas. In Australia, some good options I’ve tested are Polycraft filler primer, and Mtn grey filler primer

I tried both of these filler primers from super cheap auto, they were both great at hiding layer lines.
techniques to hide layer lines
Even with the best print settings, layer lines can still appear, but there are ways to make them vanish. Sanding is the first step, moving from coarse to fine grit for a seamless finish. For stubborn lines, use products like Bondo Body Filler or textured paints; these are particularly effective on large, flat surfaces.
Pro tip! Applying multiple layers of primer can also help build an even surface, giving your terrain a professional look.

This 6mm vatann building was printed with 0.1mm layer lines and sprayed with filler primer. Keep in mind this is super zoomed in and a small building - you won't notice the layers at all on your table!
If you have printed your terrain at higher layer settings for a faster print, a handy technique at your disposal is stippling (click the link for a tutorial on using stippling to paint concrete) By adding more visual noise to your model, the layer lines won't be as prominent. This is in effect, camouflage! The video below is from the tutorial linked above. You will probably want to use less paint, however.
painting methods for sci-fi terrain
Paintbrush techniques like drybrushing are perfect for highlighting raised details, while wet blending helps create smooth transitions for effects like glowing panels or energy sources. Using washes can enhance shadows, but be cautious with high layer lines, as washes may unintentionally highlight them.
If you choose to drybrush, make sure that you are not dry brushing against the layer lines, but with them.This will help to hide the layer lines if you have printed at layer heights larger than 0.1mm
For larger projects, airbrushing is a game-changer. Techniques like panel highlighting and zenithal priming allow for precise colour gradients and realistic lighting effects. If you want to achieve a weathered, worn aesthetic, dragging the airbrush can simulate streaks and stains, adding character to your 3d printable wargame terrain.

Notice the cool organic pooling effect? One of my favourite methods to get a realistic concrete look is to water down my acrylic paints in my airbrush. The primer has also hidden the layers and cleaned up the top layer of the print.
adding weathering and finishing touches
Weathering techniques bring depth and realism to your terrain. Sponge weathering can mimic chipped paint, while oil paints are excellent for creating streaks and grime. If you print with 0.1mm layer height or less, you will be happy to know that my favourite weathering method for MDF terrain of mixing oil paints with odourless solvent works wonders. Just make sure you use filler primer so the layer lines aren’t amplified.

Notice how the oil wash pools on the underside and tops of the chamfered windows. I used a light oil wash for this brutalist terrain building. But the combination of 0.1mm layers and filler primer means you can't notice them on the tabletop.
To give your project a rust or dirt effect, pigment powders does wonders, especially on industrial-style 3d printable sci-fi terrain. Once you’re happy with your work, seal it with a varnish to protect the finish and enhance durability.
tools and materials for painting 3d printed models
To achieve the best results when painting your prints, make sure you have the right tools on hand. Sandpaper, filler primers, acrylic paints, and an airbrush are essential for most projects. For detailing, textured paints, pigment powders, and brushes with different textured bristles will help bring your terrain to life.
Oil paints are great for easy weathering effects - and you can make your own oil washes.
bring your 3d printed terrain to life
Painting 3D printable terrain is the final step in creating immersive, game-ready pieces that enhance every tabletop session. With the right preparation, tools, and techniques, your terrain can become a standout feature of your gaming setup.

Ready to start your next tabletop project? Explore our collection of 3D printable terrain and unlock endless possibilities for your wargaming battles.
