How to Weather and Create Rust Effects for Terrain
Ryan JShare
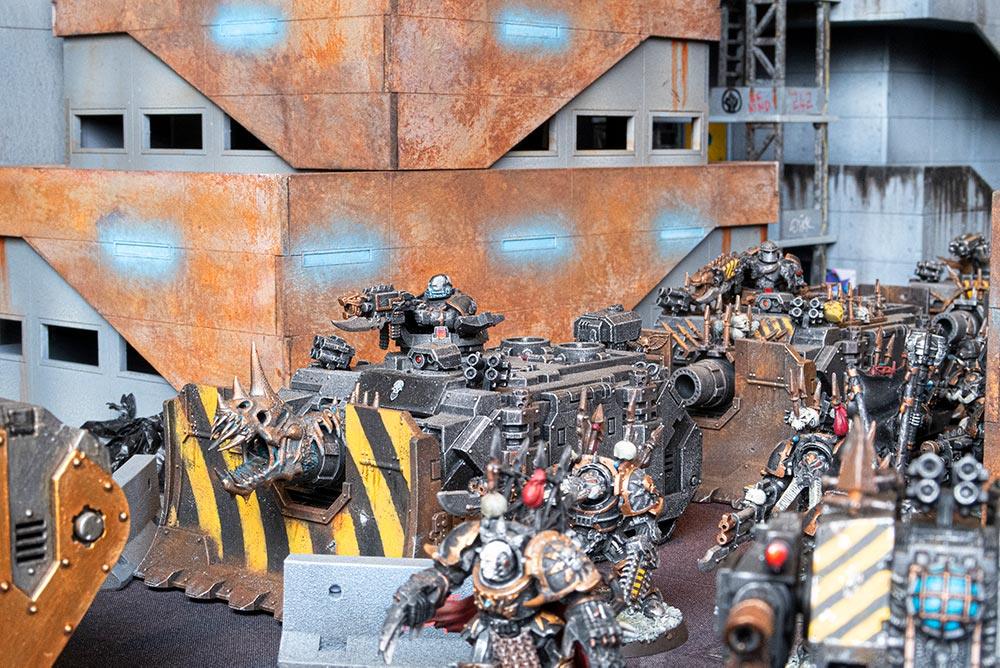
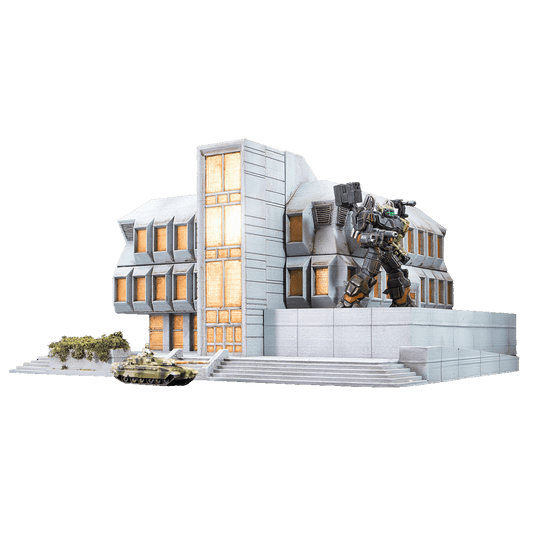
Here are a couple of methods I used to emulate weathering steel, as painted on the Eternity Labs buildings.
Weathering steel is actually designed to rust and is often used in architectural cladding - it seems counter intuitive to want your steel cladding to rust, but the external oxide layer actually protects the interior or steel core from rusting further, or at an extremely low rate as the oxide coating from the alloy constantly regenerates if damaged or exposed to weather. You might just win Best Table at a tournament.

Technique one - airbrushing
In the example above the effect was achieved by layering paint with an airbrush. Successive shades of brown, then orange, then orange mixed with yellow were built up.
Instead of focusing in the interior of the panels, as I tend to do for concrete, (You can see this faintly on the lower concrete sections) I sprayed a bit more randomly and focused on the panel joins.
Then a light oil wash of a raw umber brown was used to bring out the texture a bit more and create more depth, but in hindsight a heavier wash would have been better to really emphasise the textures. If you are curious about oil washes we have a quick tutorial.
Technique two - rust effects paint
We've got some paint that's great for adding weathering or effects to terrain and minis: Ammo Paints! I was fortunate enough to visit a local bloke who is heavily into the 30k side of the hobby. For those who don't know, Jeremy, aka @therealbrokenfingers is a very talented hobbyist who specialises in Warhammer 30k and scratch built 'realhammer' ruins, mostly made from corkboard.

Here's an example of Jeremy's work!
I asked how he did the realistic rust for some of his dioramas and it turns out it's actually a metallic paint that rusts with an acidic solution. Real rust! You can also find some of his tutorials such as the one below on YouTube. Highly recommended. Watch his video or if you prefer a text format, read on!

In Australia you can find it at Bunnings for about $60 for a litre, and $30 for the acid solution. Here are the steps to to make the perfect rusty terrain, especially perfect for Necromunda and post apocalyptic games like Gaslands!

5) After an hour or so lightly spray a mist of water to speed up rust. Do this once or twice more before the second coat of solution
6) After 8 hours apply the second coat of solution. You will notice now rust has already begun to occur

7) Wait a few more hours and the corrosion should progress

8) Once fully dry, you can apply a matte varnish to protect the terrain, as the oxide may rub off on the tabletop.

You can achieve different levels of corrosion but experimenting with how much water you spray, and how much time you wait before coats if you like. The great thing is the randomness that happens naturally with this technique, making your terrain much more realistic. This is also why I love oil paints, mixing with solvent you can achieve some great organic effects and textures with little effort.

The terrain here was built after being painted, and care was taken so that the rust paint wasn't applied to the internal face of the balustrade - this is to ensure the levels can smoothly stack, as paint has it's own thickness.
So there you have it, I hope you found the tutorial useful.
It's a very fun technique and I look forward to using it soon on some upcoming kits! Check out some of the essential products for weathering.
Take care,
Ryan

For a free PDF with my MDF terrain painting method out this blog post!


